


Crispy Cousins
Katsu, schnitzel, milanese and more!

One of the most beautiful things about cooking can be described in one word.
Connection.
Food is the great connector.
Even if you don’t speak the same language or have the same views. Sit at table with someone or cook together and you will always find common ground.
Now let me nerd out and get really specific in terms of cooking - if you think about a technique, you’ll probably find it used in a similar way throughout different cultures, it’s only the ingredients or slight tweaks that change to make it unique.
Let’s take a delicious, breaded, panfried piece of meat for example:
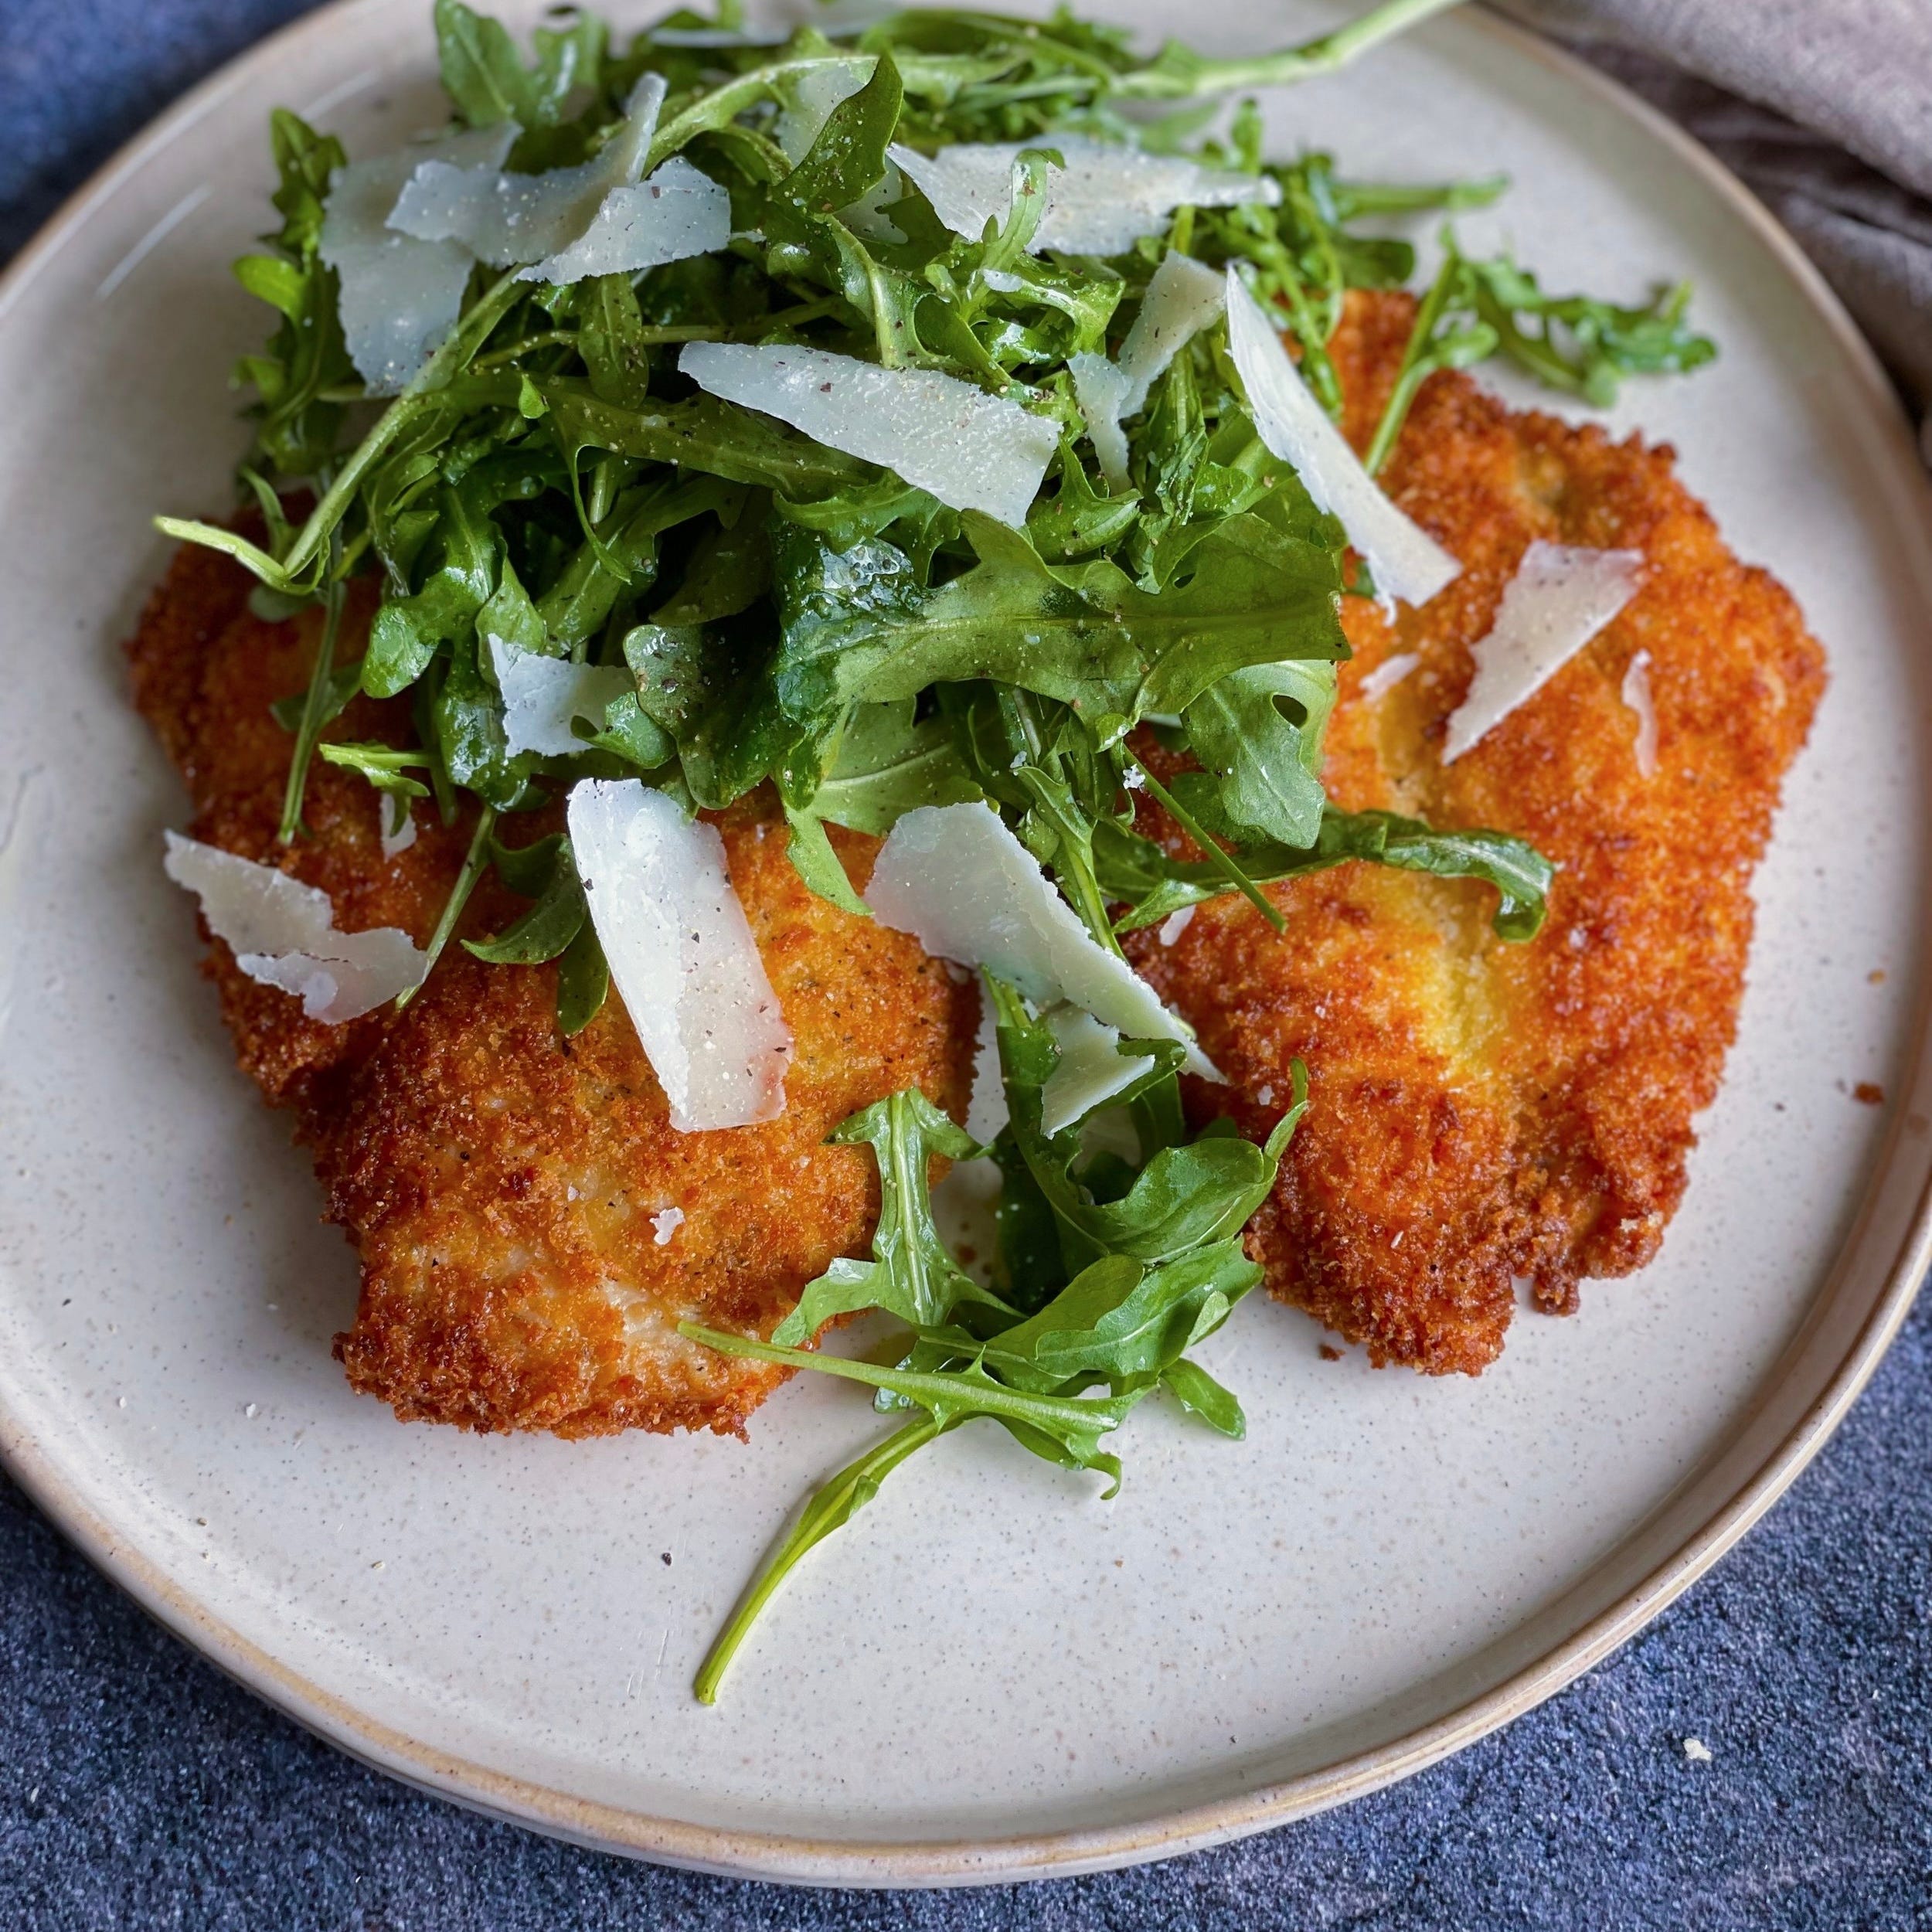
In Italy it’s Milanese.
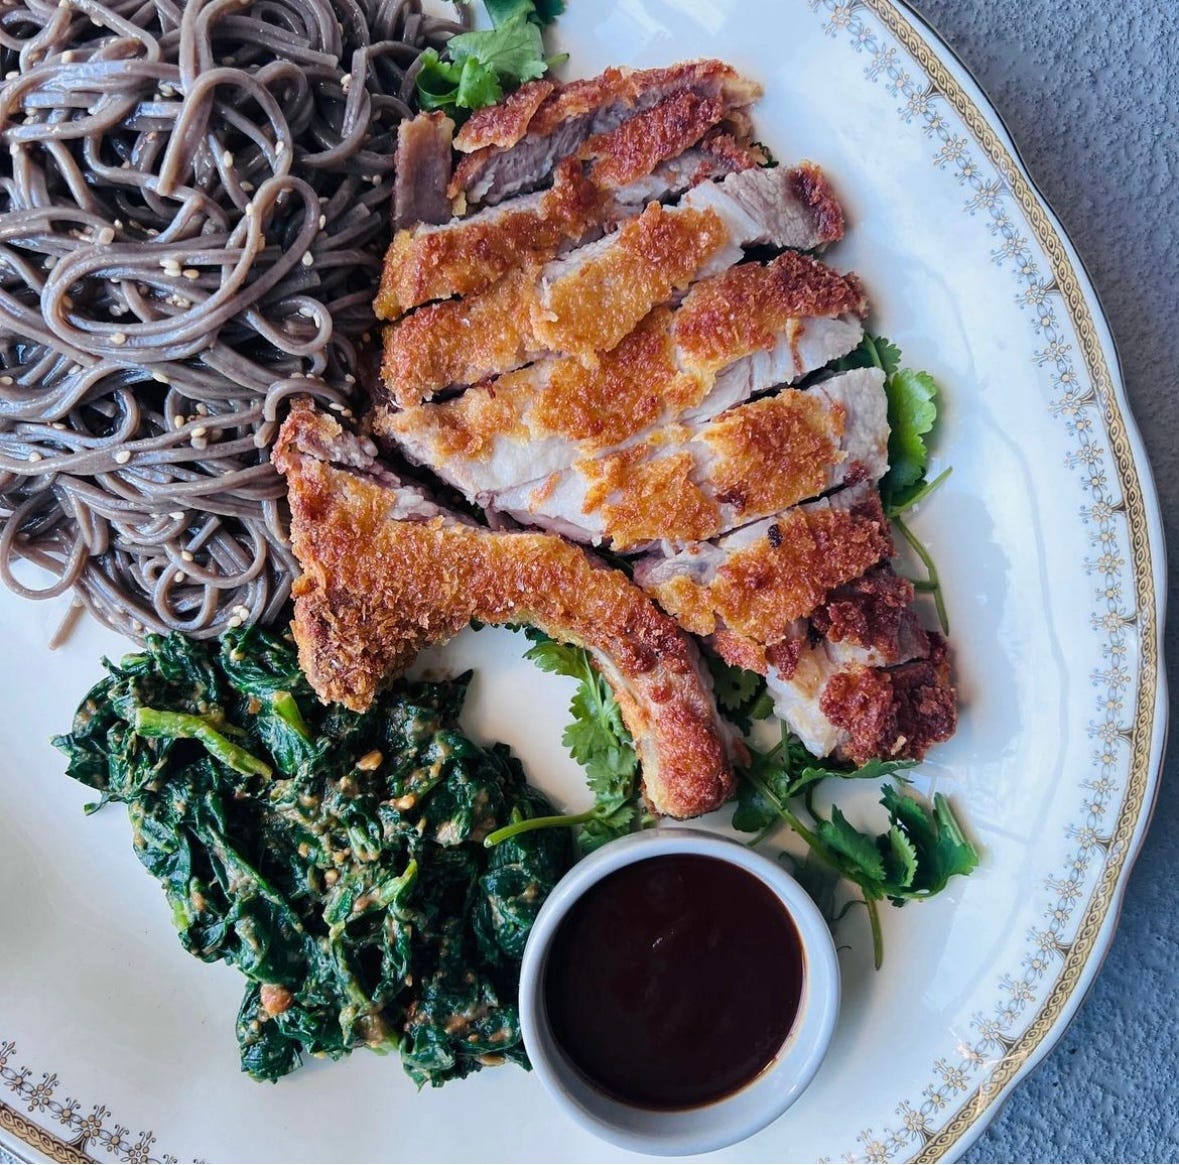
In Japan it’s Katsu.
In Germany it’s Schnitzel.
In Korea it’s Don-Gaseu.
It could go on but you get it, right?
Breading and panfrying is the common thread. The inspiration comes from the ingredients. So why can’t we do that in own kitchens?
Everyone loves a crispy fried something. And when you do it well, you get that perfectly browned, not oily piece of goodness to use in so many ways.
It’s why learning the technique can expand your cooking in a million creative ways. When you understand and master the technique, you can take it in so many different directions depending on the flavours and ingredients you choose.
This is the most fun part!
Maybe you create something totally unique. That’s how most of the best dishes come to life anyways - by someone getting creative.
First let’s cover ingredients that love the breading treatment:
Because we’re pan frying, you want to have a thin piece of meat that’s going to cook quickly - too thick and your breading will overbrown or you’ll end up with it raw on the inside. Pounding your meat with a meat mallet or rolling pin until you get them about 1/4 to 1/2 inch thick is the goal. You can also ask your butcher, but I like to do it myself - it always feels like the best sort of stress relief :)
Meat that works well; typically chicken, pork or veal - for chicken fried steak try top sirloin.
Now who says we have to stop at meat? Veggies work great too! Cauliflower or broccoli steaks (I usually cut a whole head in half and then cut steaks from the middle section), zucchini, eggplant, sweet potatoes, oyster or portobello mushrooms. You can cut your veggies a little thicker, especially the cauliflower and broccoli so it doesn’t fall apart. I salt things like zucchini and eggplant to extract some of the water before breading to keep them from going soggy.
Tofu works well too (it you buy it in what looks like a little brick and cut thin pieces horizontally for rectangular pieces) and I’ve even done it with some ling cod collars - this is your sign to experiment!
Breading technique and ingredients:
Proper breading matters to ensure you have the best chance to create that crispy crust. This is where a little assembly line is worth doing. I’ll get whatever I’m going to be breading (whether it’s meat or vegetables, etc.) cut first and then line my bowls up in order; flour, egg, breadcrumbs. Be sure to season them all too. It’s also time to think about whether you want to flavour your breading as this is where you can spice things up.
I use all purpose flour as it get the most ‘gluey’ when it goes in the egg bath but feel free to experiment. You can add buttermilk or yogurt to the egg if you want to, and as for the breadcrumbs; storebought, homemade or panko all work well but don’t stop at breadcrumbs! Crushed cornflakes, cheerios, or pretzels are a fun alternative. See how there’s just so many options?
When you’ve got your bowls set up and you’re ready for breading, start with your ingredient into the flour and take the time to make sure it’s coated well. Shake off any excess and move it over to the egg, again making sure it’s completley coated and there’s no dry spots. Transfer to the breadcrumbs and press gently to get them to really stick. Shake of any excess and transfer to a plate until you’re ready to pan fry. It’s a messy job and your fingers will get sticky but these are my favourite kind of messes.
*If I’ve got a few pieces to do, I’ll make sure they’re all breaded and ready to go before I move on to frying - you want all your focus when you’re working with hot oil.*
Pan frying keys to success:
Okay we’re ready to fry. I usually use a cast iron skillet for this because they’ve got those higher sides and hold the heat well. The goal is to have the oil go halfway up the sides of the ingredient when it goes into the skillet - so not totally submerged or we’d be deep frying. You’ll want to think about that when you’re choosing the size of skillet to use. You also want to think about how much you’re cooking as you don’t want overcrowding in the skillet. Your ingredients need room to get crispy, too many in the skillet, they’ll end up greasy and it’s harder to keep the right temperature so if you need to, go in batches. Rule of thumb for how much oil to add is usually about 1/2 inch up the side of the skillet.
As for types of oil - my go to is usually grapeseed oil because it’s got a neutral flavour and can handle the higher heat. Two others that work are peanut and vegetable oil.
Heat the oil over medium-high heat until it gets to about 350*. If you want to get out the thermometer, go for it but I usually go by feel and will test the oil by dropping a breadcrumb in - if it starts to sizzle right away and bubbles up to the surface it’s ready to go. If it doesn’t wait and test again.
When your oil is properly heated, add your breaded ingredient by gently laying it into the skillet facing away from you, meaning start with one end in the part of the pan closest to you and lay it down towards your backsplash. This way if there is any potential splash of oil it will likely be away from you rather than right at you. Safety first friend.
Pan fry until you see a nice caramel brown colour forming on the bottom and then flip, again away from you. Cook until the second side is nicely browned then remove from the pan. It’s usually about 3ish minutes per side but this is where you’ve got to pay attention and use your senses. If I’m doing batches, I’ll transfer to a cooling rack and then do a final seasoning with salt right away.
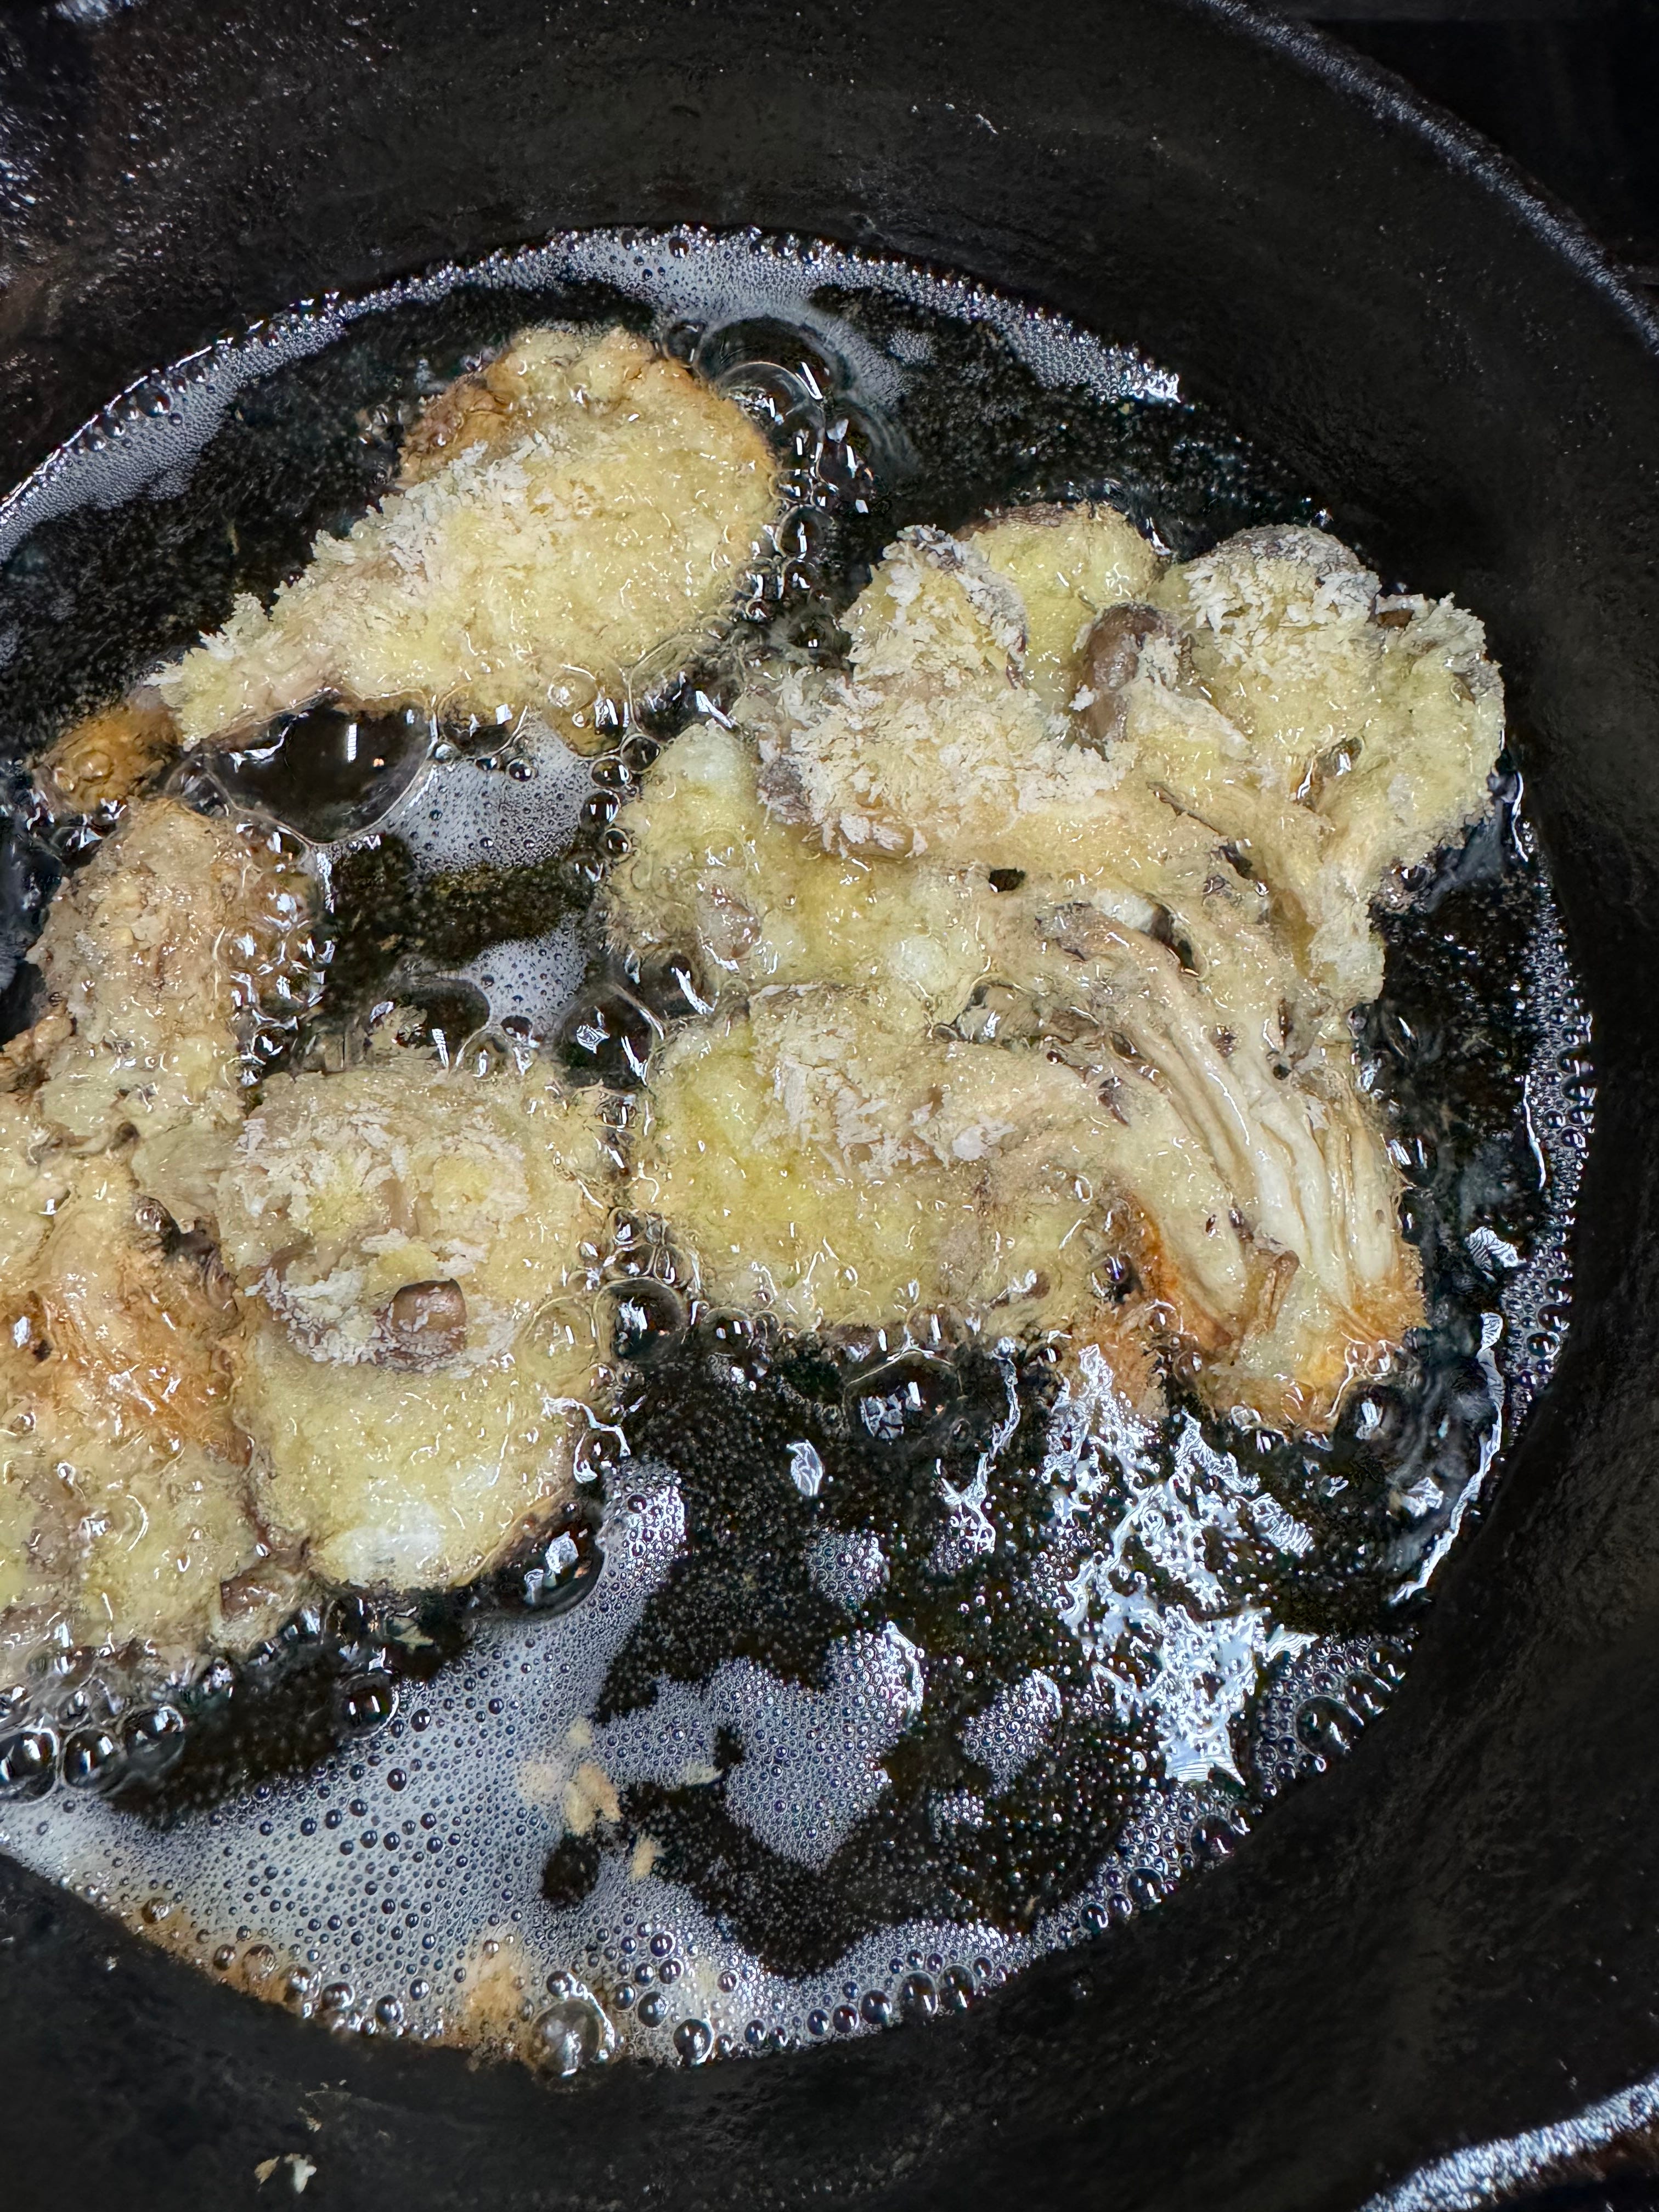
*Bubbles like this are a good sign you’ve got your temperature right and why it’s worth it to test before you add them to the pan. If you don’t have the right temperature you won’t get that crispiness so be sure to let the oil heat properly.*
There you have it. All the breaded, pan fried goodness.
What deliciousness will you create?
Want more with me?
This publication is reader supported and it means the world if you choose to become a paid subscriber.
The Communal Table If you don’t know, this is my monthly cooking community where I lead classes, have guest teachers join us, there’s a cookbook club, foodie round tables where we nerd out about all things cooking and food, plus monthly giveaways of my favourite things, and so much more. If you’re looking for a space of rad people who love cooking as much as you do, come join us!
Ready to learn the pleasure and the principles of cooking well? Let’s THE CREATIVE KITCHEN This if for you if you want to learn some foundational cooking skills so you can find your own creativity and flow in the kitchen. Because that’s what it’s all about!