

Sourdough Rituals
Sourdough Rituals
Plus Sourdough Pear & Apple Fritters


I’m so happy to be back into my regular sourdough ritual now that we’re into the cooler months.
Moving through the whole process of baking this delicious bread always feels so grounding. Still to this day it’s a small miracle to me how flour and water - two simple things, can create something so beautiful.
I love that my starter - her name is Bubbles in case you didn’t know, asks so little of me. Just a regular feeding everyday or two if she’s on the counter or every few weeks’ if she chills out in the fridge. She's so resilient and flexible now that she’s been around for a few years that even if I neglect her, she always comes back to life after a little bit of love (and by love I mean food), and maybe an apology or two. She’s quick to forgive, which I’m always grateful for.
Now it’s time to mix the dough. Flour, water, a piece of Bubbles and some salt - that’s it, that’s all. With each turn I watch as it transforms from a clumpy blob into a smooth and supple dough with big, beautiful air bubbles showing me the potential of what will be; a light, airy loaf that will have all the perfect places for butter to hide.
Next it’s the shaping. Stretching, cupping, and tucking with just the right touch to give the dough its best shot at holding its shape. There’s always something meditative about this part. Tucking them into their bannetons, this is where again I get to watch them expand and grow like a sponge soaking up water. After a few hours, it’s all about touch and feel to know when they’re perfectly proofed.
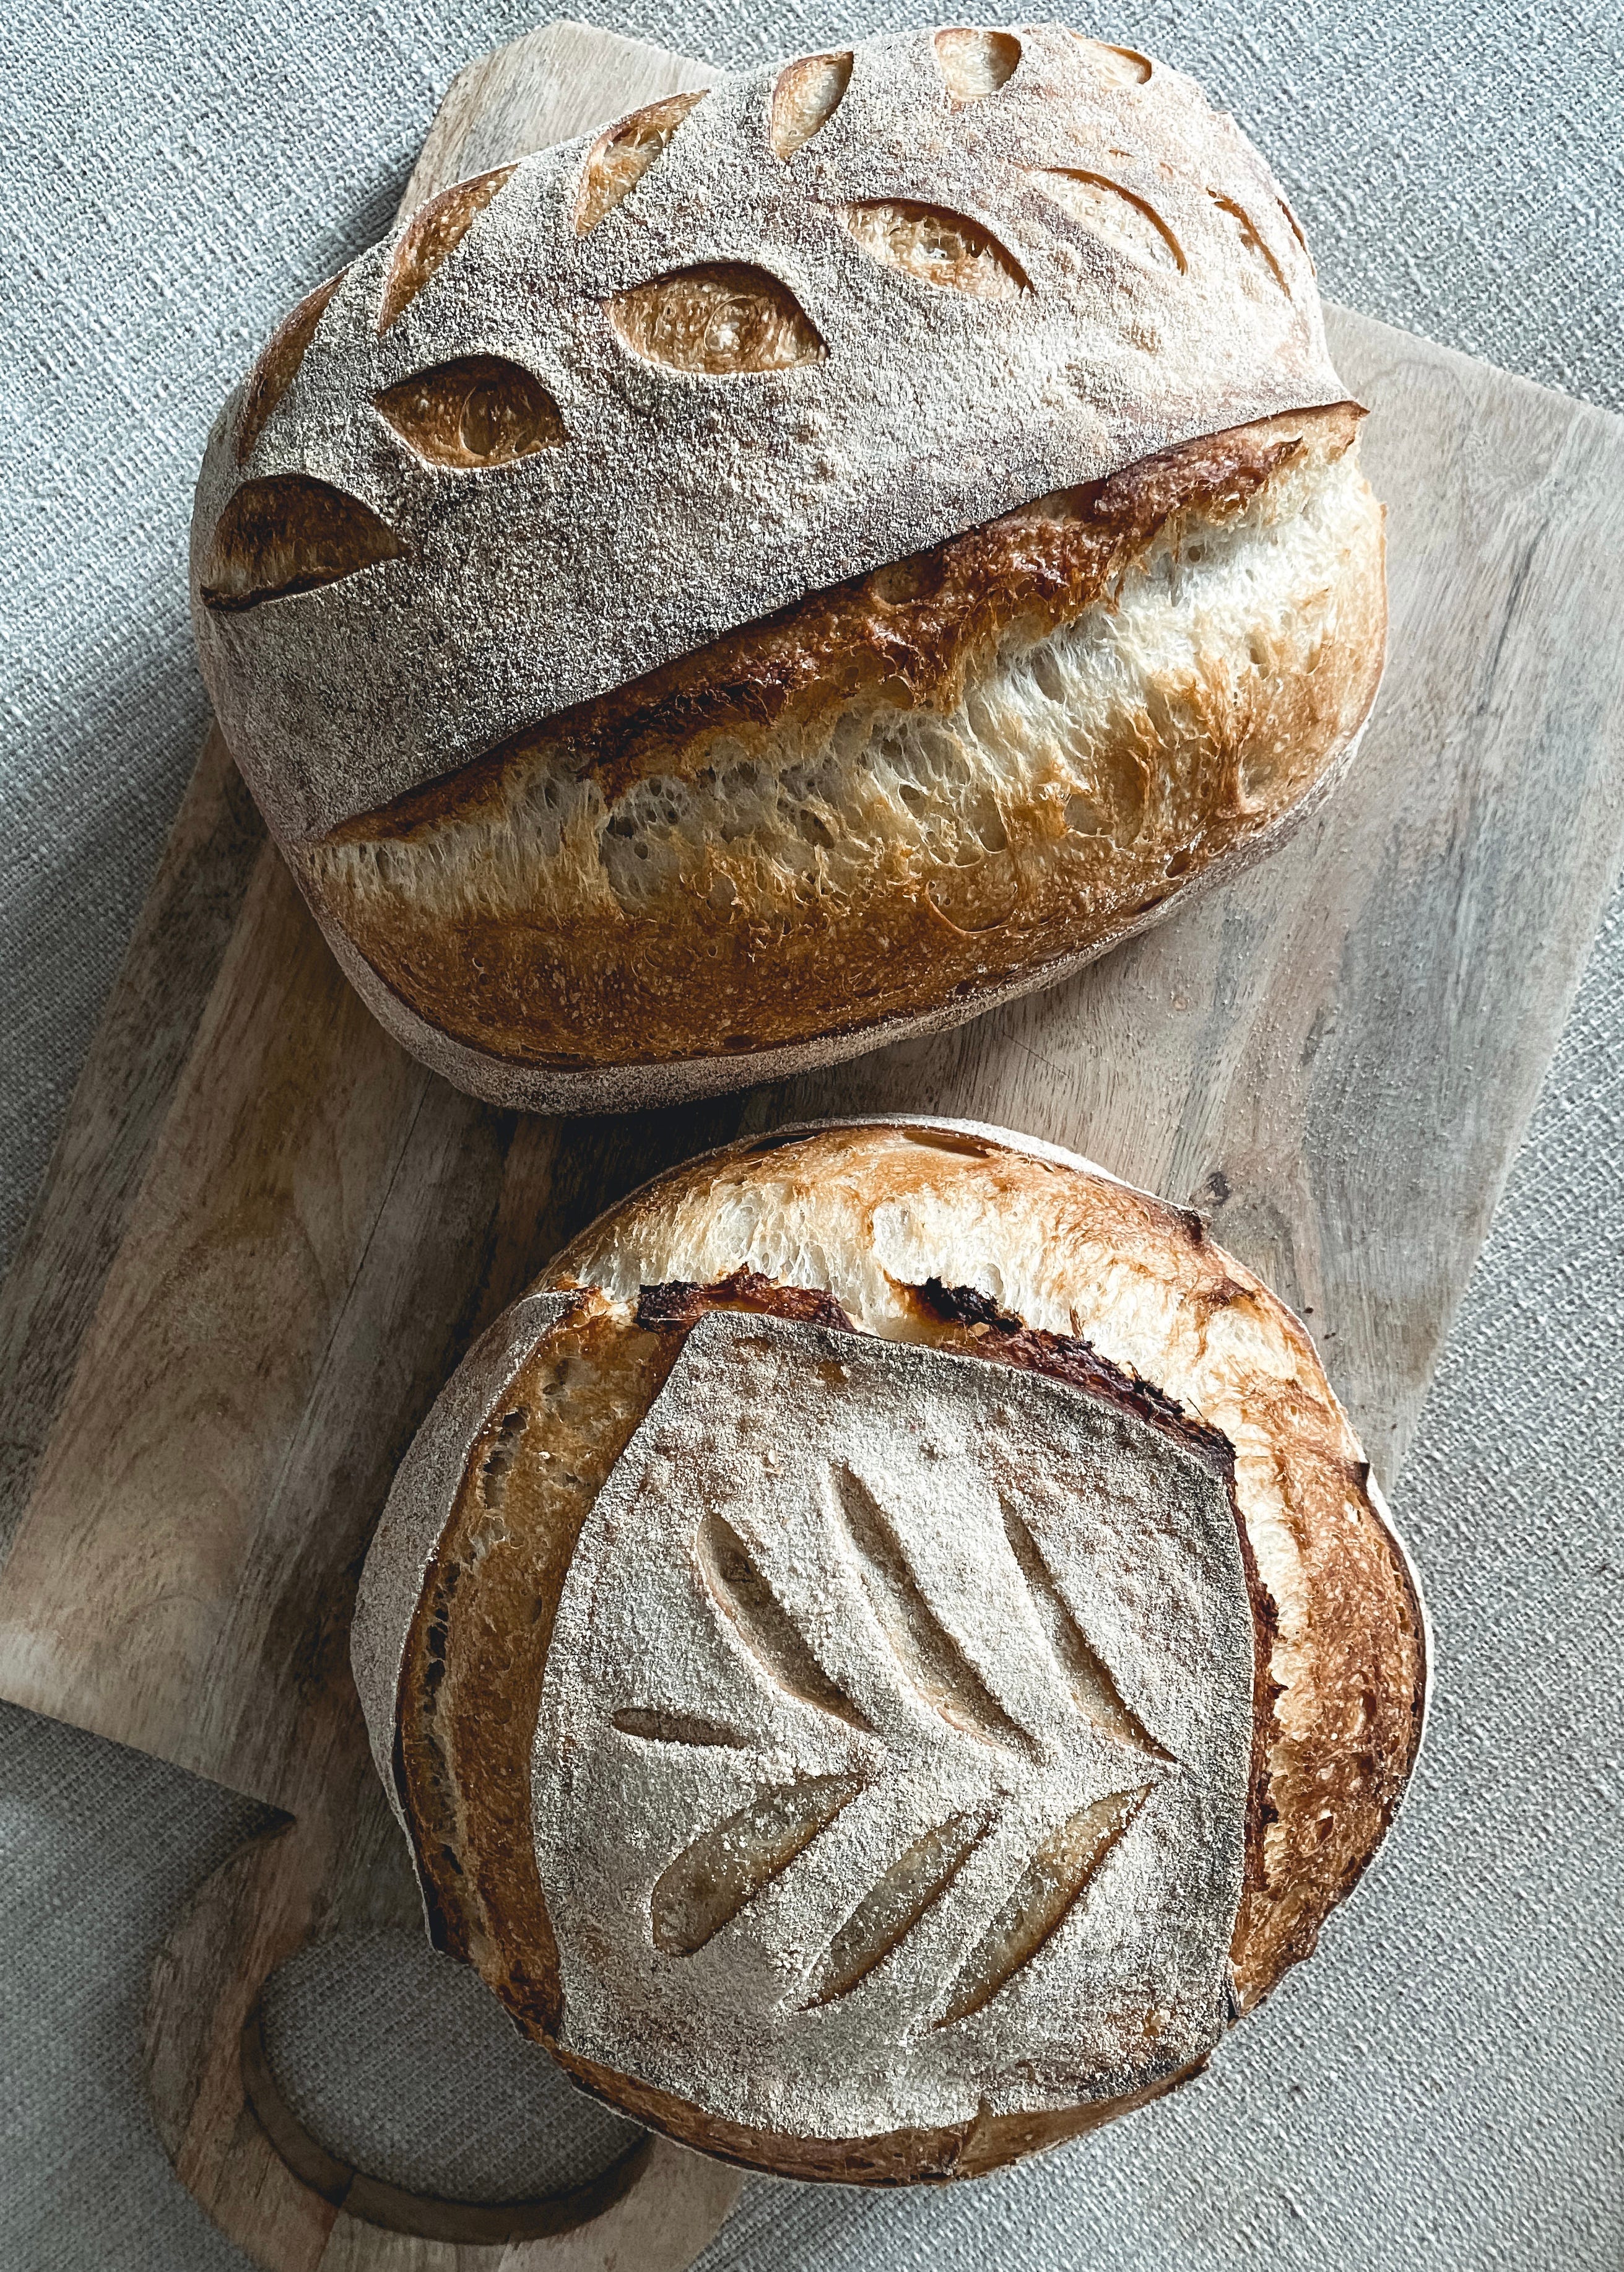
When the loaves are ready for the oven there’s one last thing to do - scoring. This is the creative part I love. To take my bread lame and use it like a paintbrush to create whatever I’m feeling in the moment. Tiny cuts, big slashes, shapes, letters, anything goes!
Finally into the oven. And then, that moment when you start to smell them. Is there really anything better than the smell of freshly baked bread? Next is the anticipation while waiting for the timer to go off before dashing to the oven to pull off the lid, letting the steam subside to see what's sprung. It's different every time and I love that. It's always something new even if I've done it the same way thousands of times, each loaf has it's own personality. It's own charm.
And it doesn’t end when they come out of the oven. There’s quiet crackle and pop song they sing to me while cooling on the rack. The required patience while waiting until a loaf is completely cool to get that first slice. Smearing one with butter and jam, getting it into all the nooks and crannies. Pure bliss.
The whole process is magical to me and as my friend Ashley says, it’s a lesson in reciprocity right in my own kitchen. I feed Bubbles, she feeds me. She asks so little and yet it does so much because I’m also then feeding everyone around me. And that leaves joy trails everywhere.
Cook This Now: Sourdough Apple Pear Fritters
This is one's for all my sourdough peeps (if you're ready to dive into the magical world of sourdough you can sign up for my course below). There’s so much you can do with your starter beyond simply bread once you’ve got it established and well loved like Bubbles is over here. :)
This is one is a great rainy day project to jump into right now. Yes, the process takes a couple days when you add in all the steps but it's worth it. I love my fritters with an almost obscene amount of fruit and I won’t apologize for it. I also added in some pears with the apples to mix it up a bit, because why should apple have all the fun? If you're need a visual of putting these together you can watch quick reel over on Instagram HERE Create some messy magic my friend! These also make a great little joy trail to drop off to someone too. Who wouldn’t smile from a homemade donut delivery??!
Apple Pear Sourdough Fritters
For the dough:
250g all purpose flour
100g levain (50g flour, 50g water, 10g starter)
1 egg
40 g sugar
2 tbsp butter, softened
70g whole milk
1 tsp cinnamon
10g salt
For the fruit
2 honeycrisp apples, peeled & cored
1 bartlett pear, peeled & cored
1 tsp cinnamon
1/4 tsp fresh grated nutmeg
3 tbsp sugar
pinch of salt
For the glaze
1 cup confectioners sugar
4 tbsp whole milk
Prepare your levain the night before you want to start your dough
Mix together the milk, egg, levain, salt and sugar for the dough. Mix until combined. Add the butter, flour and cinnamon. Mix until everything is combined and a dough has formed. You can do this in a stand mixer if you like.
Take dough out onto a floured surface and knead several times to form a smoother dough ball.
Place in a bowl or container, then cover and let ferment for several hours or until you see it has puffed up and is nice and elastic. This can be anywhere from 3-6 hours depending the temperature
Meanwhile, cut the apples and pear into 1/2 inch cubes
Place in a bowl and mix with the sugar, cinnamon, and nutmeg. Cover and set aside until ready to use.
When you are ready to make the fritters, bring both dough and apples to room temperature. Punch down the doug, you'll notice it will be much silkier now and less sticky.
Prepare a tray with a parchment dusted generously with flour, set aside
Flour a bench surface and roll out the dough into a rectangle with about a 1/4 to 1/2 in thickness. This doesn't have to be perfect.
Scatter the apple pieces on the dough, press lightly and roll to form a log.
Using a sharp knife or scrapper, cut the log in to slices and then make one long cut lengthwise.
The idea is to incorporate apple bits into the dough as much as possible.
Mix with your hands, adding any additional flour as you need to form the dough again. If there's too much fruit, set it aside to add in later.
You can weigh the dough at this point so you know how much each fritter should be. This is totally optional, you can also just eyeball it, I have a weird thing about having them all equal.
Form the messy dough into a log again and divide into 10 pieces, weighing them if you choose.
Take one piece at a time, on to your palm, form in to a disk, place on the tray, tucking any extra fruit onto each one as needed.
Once done cover the tray and leave aside for the final proof, usually about 2-4 hours. They will have risen once again and look soft and puffy. At this point you can put them in the fridge overnight (this is what I do so I can make them fresh in the morning). If you do, remove them from the fridge for at least 45 minutes before frying.
Before frying, mix the sugar and milk together for the glaze and have it ready in a small bowl.
Heat the oil in a deep pot to 375*
Drop two fritters at a time and fry turning (about 2-3 minute each side) until they have a deep caramel colour, about 2-3 minutes per side.
Remove and let excess oil drain for about 30 seconds, then dip both sides in the glaze while fritter is still hot.
Place on a wire rack placed on a baking sheet to allow the excess glaze to drip off.
Repeat with the remaining fritters.
As they cool, the glaze will set and harden.
Makes 10 fritters

Want more with me?
This publication is reader supported and it means the world if you choose to become a paid subscriber. You’ll also get access community threads, months round ups, more recipes and live hangouts, and more!
The Communal Table If you don’t know, this is my monthly cooking community where I lead classes, have guest teachers join us, there’s a cookbook club, foodie round tables where we nerd out about all things cooking and food, plus monthly giveaways of my favourite things, and so much more. If you’re looking for a space of rad people who love cooking as much as you do, come join us!
Ready to learn the pleasure and the principles of cooking well? Come join The Creative Kitchen. This if for you if you want to learn some foundational cooking skills so you can find your own creativity and flow in the kitchen. Because that’s what it’s all about!
If you’re ready for the magical world of Sourdough, come on in HERE